You can buy these switches new for about $250. But in keeping with the spirit of renovation, not restoration, I wanted to try to fix mine. So I found a used combination switch on eBay for $64 shipped with a good turn signal stalk but a bad lights stalk. I figured I'd make one good one out of two and be in the pink.
The first job was to remove the steering wheel. The Alfa uses a key and not splines to hold the wheel in place, which makes it "fun" to remove after 30+ years of residence. It's like trying to get your Millennial out of the house and into their own place. The only hope is a steering wheel puller. But first, you have to remove the horn assembly by unscrewing the four Phillips head screws, disconnecting the lead and removing it from the wheel.

There's that nut at the bottom of that well. It's tougher than the nut behind the wheel.
Once the horn assembly's out of the way, on goes the puller. The hub puller uses looong (like 125mm) M6 x 1.00 pitch threaded bolts for this car. I didn't have those, so I made some out of threaded shafts, couplers and shorter bolts.

With a quick prayer, a bit of luck and enough persuasion, the wheel will come off.

Finally, find a way to remove the bottom half of the shroud around the switch. The retaining posts on mine are broken in the back, so I could do this; otherwise, you're removing what seems like most of the dash to get that cowl off. I didn't want to mess with it at the time, so I left the top half in place, which did make things more difficult.
Now, on to the second act. I took my 'good used' turn signal switch apart. The bottom one is the good one, of course, and the other parts are (in clockwise order) the cover, the canceler, the canceler base, the contact, and the spring and retainer.

Since I was only working on the turn indicator, this was possible to do in situ. But here's how it goes together. Note that the spring fits inside the stalk base, and the assembly rocks on the pin. The canceler and stalk base have little teeth like a gear set; as the column rotates the canceler back after a turn, the stalk rotates in the opposite direction to a neutral position, with the spring providing the resistance to hold everything in place. It's oddly elegant.

This is where the hard part came in and having the cowl in place made it harder. You have to put the cover back on after fitting everything in place. You get one shot; if things slip out (which of course they do since they're vertical and not on a flat bench, where this is hard enough to do) you start over and hope you didn't lose that little retainer on the spring. The cowl was also right in the way of where the plate had to go, so it was even more fun.
But it can be done. See?

The replaced stalk works great.


(By the way, that's my wife's old keychain from when she was a teenager. How cool is that?)
I also resoldered a broken wire that controls the wiper auto-park feature, so now the switch is fully functional. Not bad for $64, and I have parts for next time.
Button up the cowl, replace the wheel and horn assembly, and you're all set. Not bad for a morning's work.
I spent the afternoon wiping down and vacuuming the interior. The carpets are very dirty, but look salvageable with a good cleaning. That means taking the seats (and maybe the center console) out to get the carpet out; I have to take them out and clean to get rid of that musty smell. The leather seats are in great shape and cleaned up nicely.
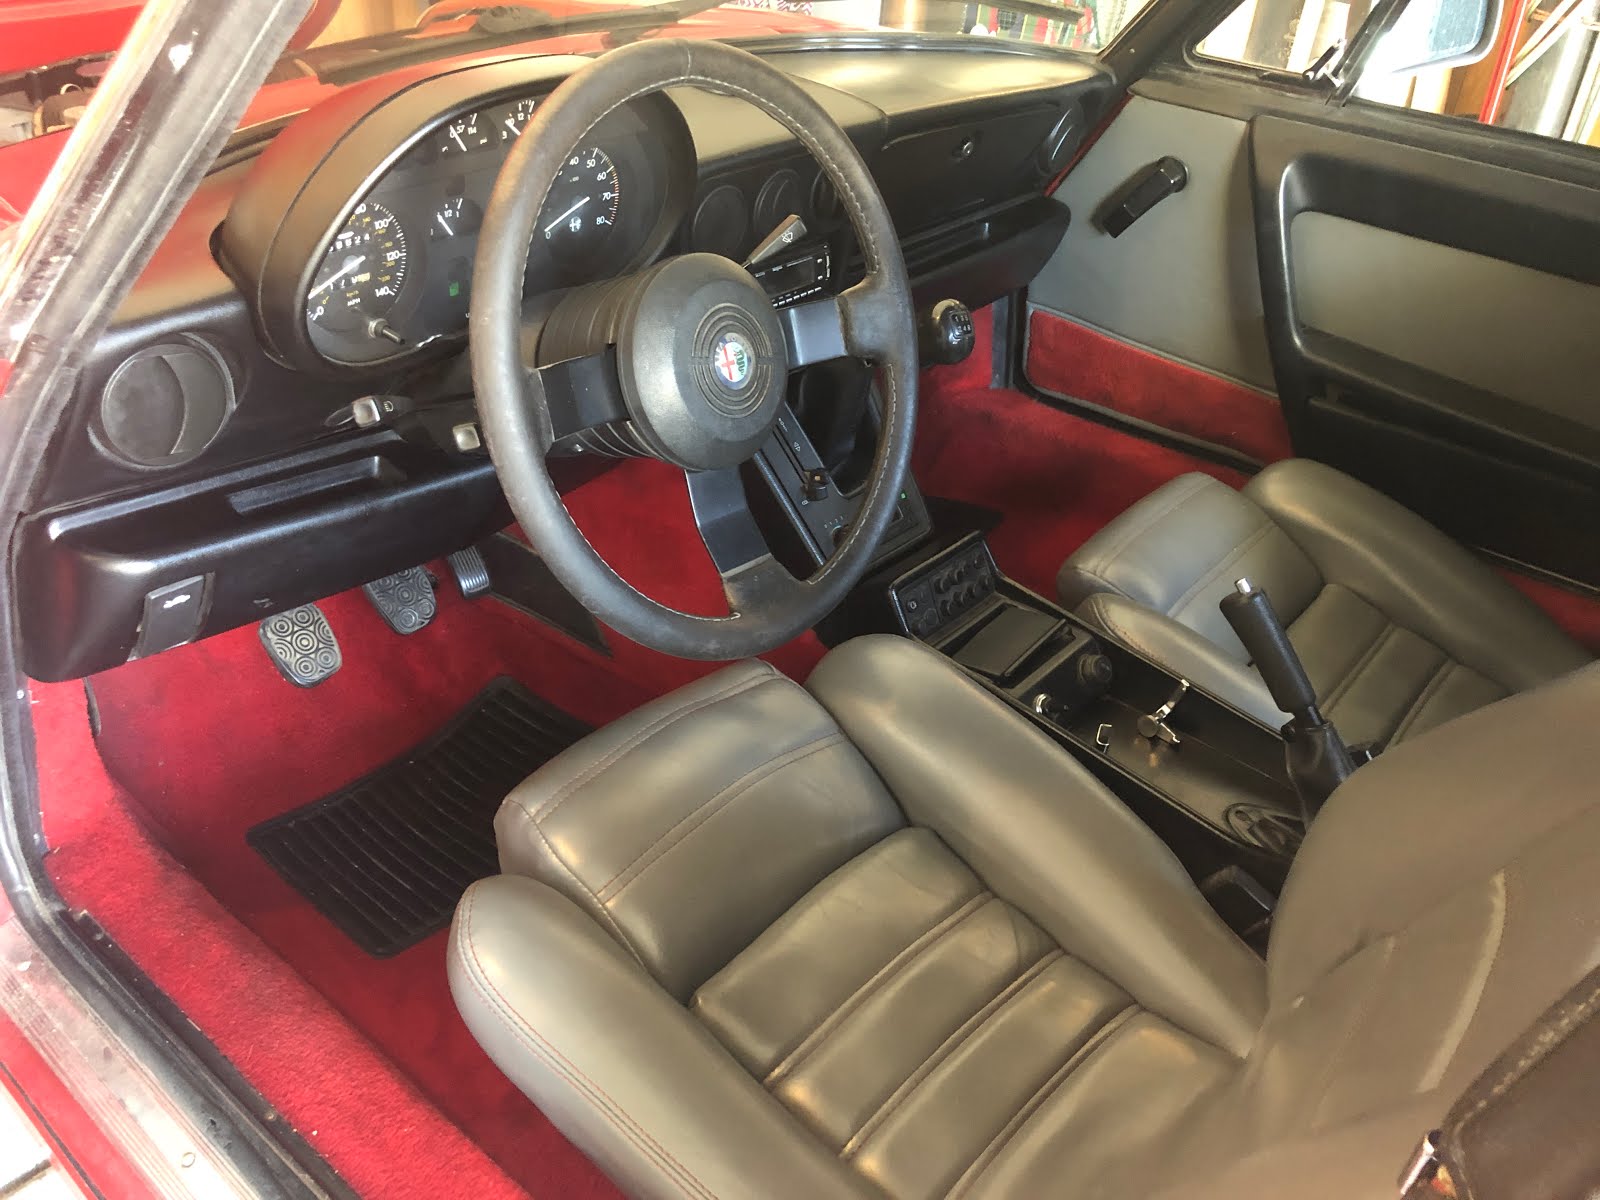

What a difference a little TLC makes!
I looked at and cleaned the trunk carpet, too. As you can see, the trunk floor is rust free and the original spare is in place (and flat).

I found some more parts that need repair and/or replacement--the third brake light and the assembly holding the rear license plate lights is badly damaged and poorly repaired. I might be able to save it, though a decent used replacement would be better.
No comments:
Post a Comment